
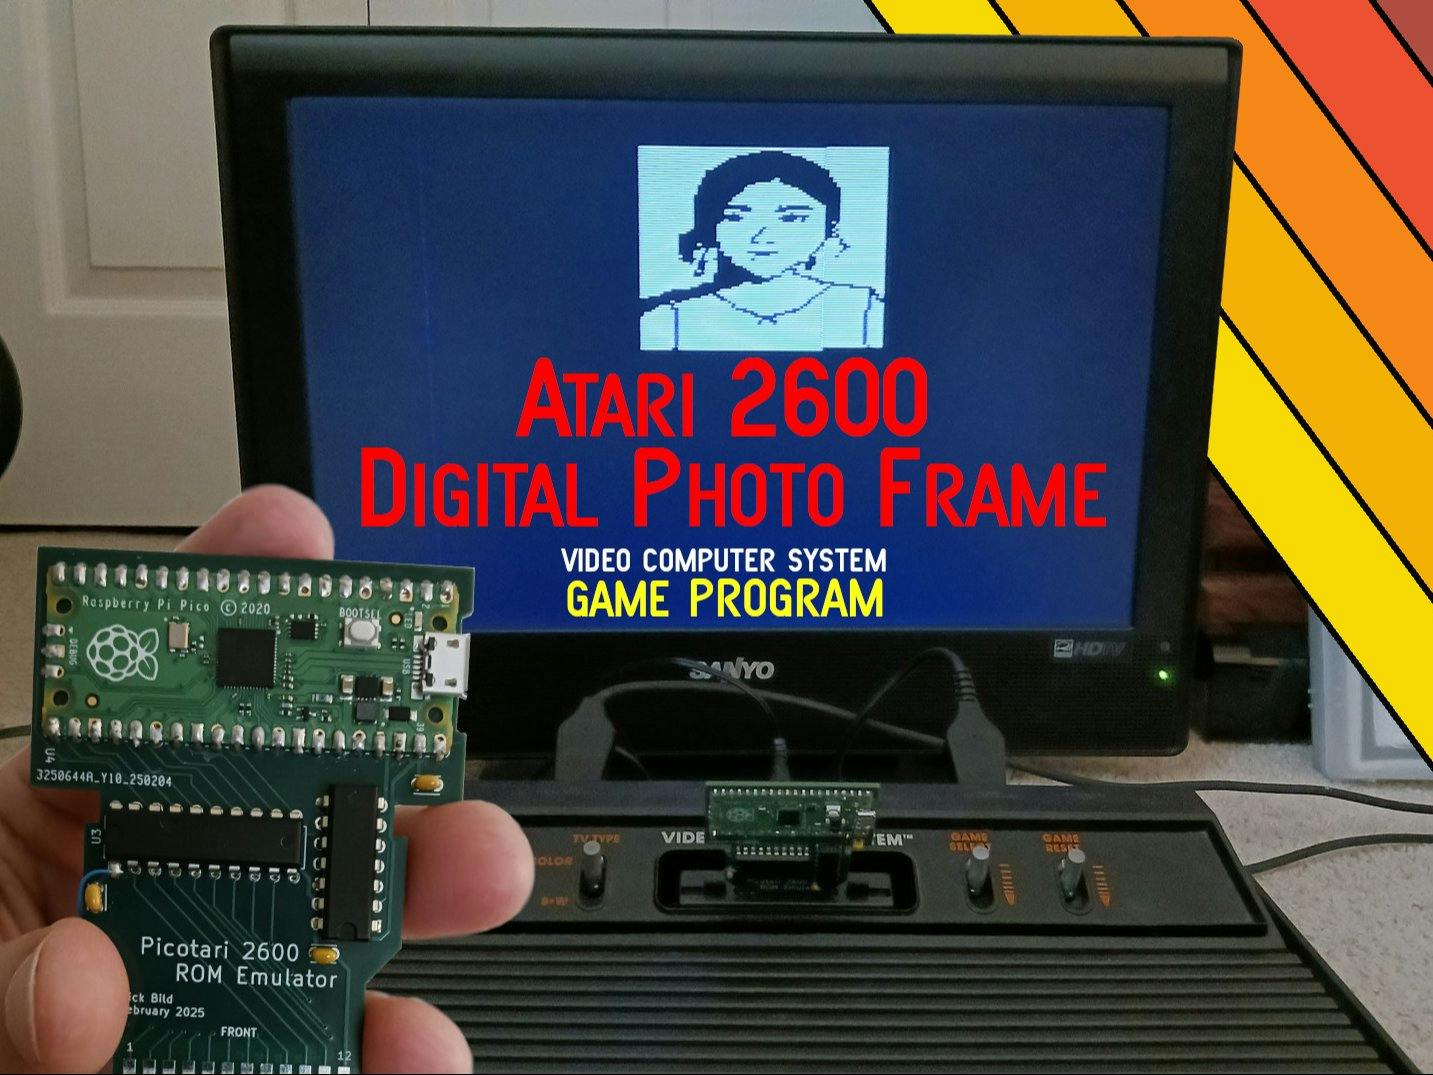
In a creative endeavor blending retro gaming with modern technology, an enthusiast has developed a unique digital photo frame utilizing the classic Atari 2600 console. This innovative project is powered by a custom cartridge featuring a Raspberry Pi Pico, enabling a range of modern functionalities beyond the original hardware capabilities.
Project Background
After acquiring an Atari 2600 and addressing a malfunction in the left joystick port, the creator contemplated various projects. Ideas included creating a device similar to the Game Boy Camera or developing an advanced game by integrating contemporary hardware. Ultimately, the choice fell on transforming the console into a digital photo frame, celebrating the distinctive charm of the Atari’s 8-bit graphics through a rotating display of images.
Technical Limitations
One of the challenges faced is the limited storage capacity of Atari cartridges, which typically hold only 4KB of data without bankswitching. The largest known bankswitched cartridge can contain up to 64KB, but managing this memory can be complex due to the constraints of the Atari’s CPU cycles. This limitation makes it impractical to store a substantial collection of images within the cartridge.
Introducing the Picotari Cartridge
To overcome these challenges, the creator designed a specialized cartridge called the Picotari, which is a modified version of an existing ROM emulator. This new version includes edge connectors for compatibility with the Atari 2600 cartridge port and additional hardware that allows the Raspberry Pi Pico to interface with the Atari’s address and data busses effectively.
Memory Expansion and Functionality
The integration of modern technology opens up numerous possibilities for memory expansion. For this digital photo frame project, the design cleverly utilizes just one byte of ROM, allowing the display of an unlimited number of images. By addressing a designated byte for each set of 8 pixels needed for rendering a sprite, the Picotari can sequentially retrieve data from a larger internal memory space, which could be easily expanded with an SD card for significant storage capacity.
Image Display Mechanics
The Atari executes a program that presents images at a resolution of 64×84 pixels. Given that the console processes images one byte at a time without a frame buffer, this sequential data retrieval approach is particularly effective. Displaying bitmap images on the Atari 2600 is inherently challenging due to its original design limitations, but the project employs a renowned technique involving sprite duplication and vertical timing adjustments to fit multiple 8-bit sprites within a single scan line. The method allows for a seamless display, with the creator opting for a pleasing 64×84 aspect ratio, while images are restricted to two colors.
Image Preparation Process
The process begins with selecting a photo, which is then optimized for 8-bit representation using a tool called Pixel It, followed by manual adjustments in Gimp. The resulting images are transformed into a compatible data structure for the Picotari using a specific Python script, which also converts the Atari ROM into a similar format.
Final Implementation
Once the Picotari has been programmed with the necessary data, it can be inserted into the Atari just like any traditional cartridge, drawing power directly from the console. Currently, each image is displayed for approximately 30 seconds before cycling to the next, and the sequence restarts after the last image.
Challenges Encountered
Prior to finalizing the Picotari PCB design, the circuit was initially tested on perfboard. Despite having a significant EMI shield, this prototype caused substantial interference with the Atari’s RF output, resulting in a noisy and unstable on-screen image. Fortunately, the completed PCB design resolved these issues, effectively eliminating the unwanted noise and providing a clear display.
Components Used
The project utilized several components, including an Atari 2600 console, a Raspberry Pi Pico, a 74LVC245AN octal bus transceiver, a 74AC04N hex inverter, three 0.1 uF capacitors, and the Picotari 2600 ROM Emulator PCB.